Magicslider Magepow Extension
Magento Extension Document
- By: Magepow Extensions
- Ticket Support: http://alothemes.com/ticket
- Video Tutorial: Youtube
I - Installation
1 - Prepare your Magento
- It is recommended to install the extension on a test server before you install it in a live store.
- Backup Magento files and the store database. Important: Creating backup before installation of any extensions in Magento is extremely important,especially when are working on a live store.
- Disable Compilation Mode in System >Tools > Compilation.
-
Disable:
-
Magento Cache (refer to II.1.2 Disable Cache For Details)
-
Full page cache and caching module for Magento (such as Speedster)
-
Any Additional cache on your server,PHP cache engines,APC,etc.
Important: When developing your Magento store, in order to be able to see changes immediately, you should completely disable the cache.You can enable it after you finish configuring your store.
-
Remove all possible custom modifications of the Magento “base” theme. "alomagicproduct"(same as any Magento theme) relieson “base” theme,so any modifications of the “base” theme can change the default behavior of alomagicproduct and break some functionality.You should never edit“base” theme's files.
-
Log out from Magento admin panel. Do not just close the browser window: you need to click Log Out link to refresh the access control system.
- Magento Cache (refer to II.1.2 Disable Cache For Details)
- Full page cache and caching module for Magento (such as Speedster)
-
Any Additional cache on your server,PHP cache engines,APC,etc.
Important: When developing your Magento store, in order to be able to see changes immediately, you should completely disable the cache.You can enable it after you finish configuring your store. - Remove all possible custom modifications of the Magento “base” theme. "alomagicproduct"(same as any Magento theme) relieson “base” theme,so any modifications of the “base” theme can change the default behavior of alomagicproduct and break some functionality.You should never edit“base” theme's files.
- Log out from Magento admin panel. Do not just close the browser window: you need to click Log Out link to refresh the access control system.
2 - Install
2.1 Install Extension
Please following steps below:
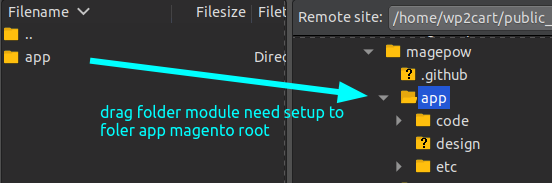
Step 1:Upload the whole Extension package (app folder ) to your server.
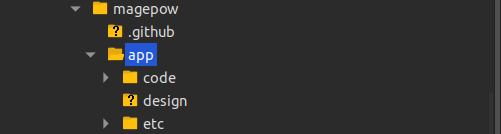
Update extension to your server or copy folder app above to your Magento in localhost.
Step 2: Install extension
After the successful installation you have to run the command on Magento2 root directory
commandline: php bin/magento setup:upgrade

Also, run this commands in the Magento2 Root.
commandline: php bin/magento setup:static-content:deploy -f
You can refer the below screenshot.

After running the command, you have to log into the admin panel and you have to clear the Cache.
You can refer to the below screenshot.

Step 3: Finish installer.
II - How to use extension
The following chapter describes some of the basic Magento settings and features. Please note that as authors of this theme we provide support only for the issues related strictly to the extension. Support for Magento configuration/ installation/ maintenance etc is beyond the scope of our support. This chapter should be only treated as a starting point, more information about Magento can be found in Magento documentation : Magento help
1 - Configuration
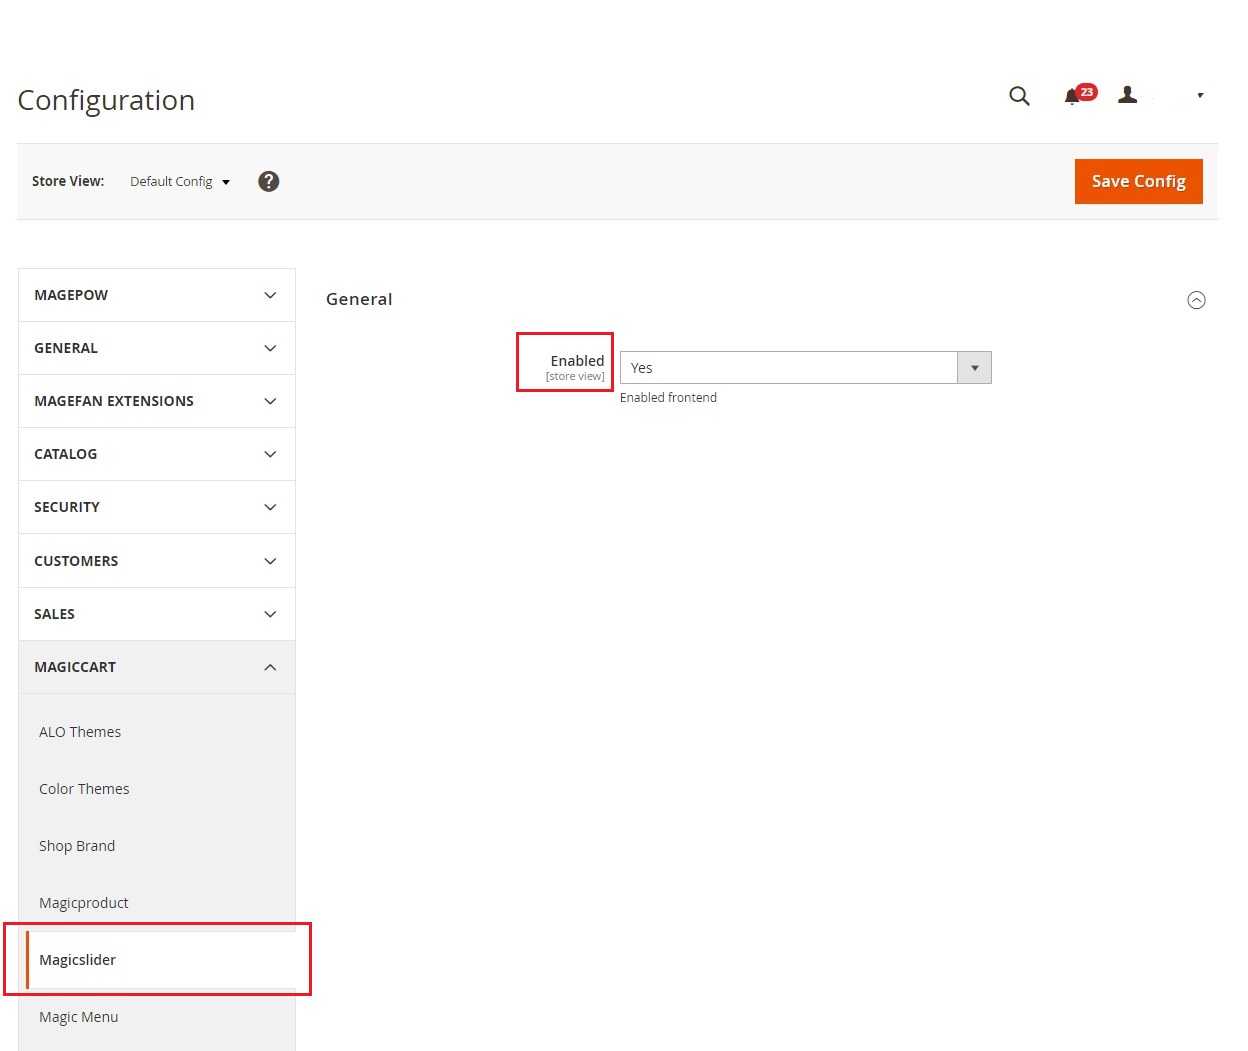
To Enable/Disable Magic Sliders, You go to Admin > Stores > Configuration > MAGICCART > Magicslider as the image below
2 - Manage Slider
Go to Admin Panel > Magiccart > Magiccart > Magic Slider > Slider
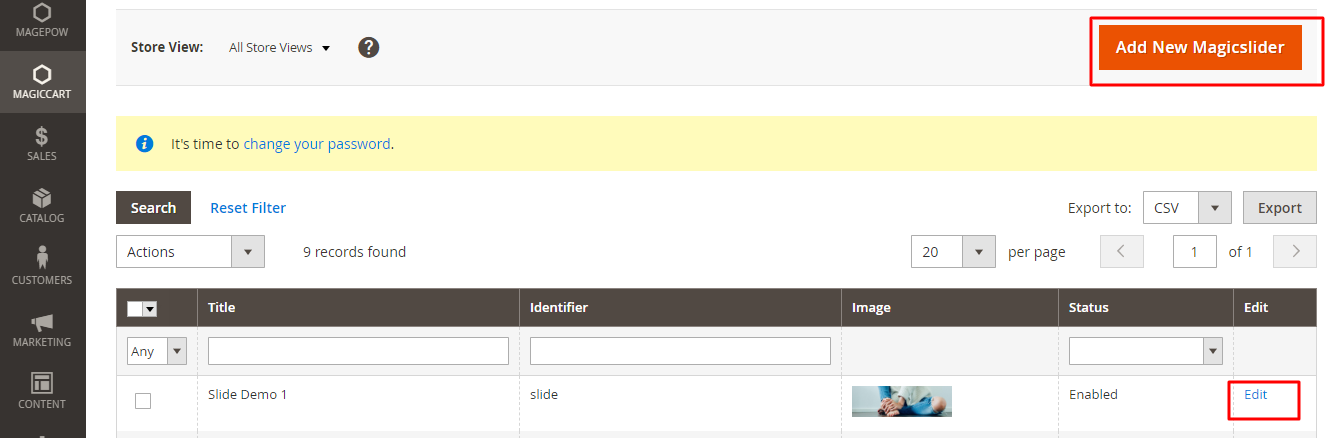
This is the place where you can change add or edit banner slider
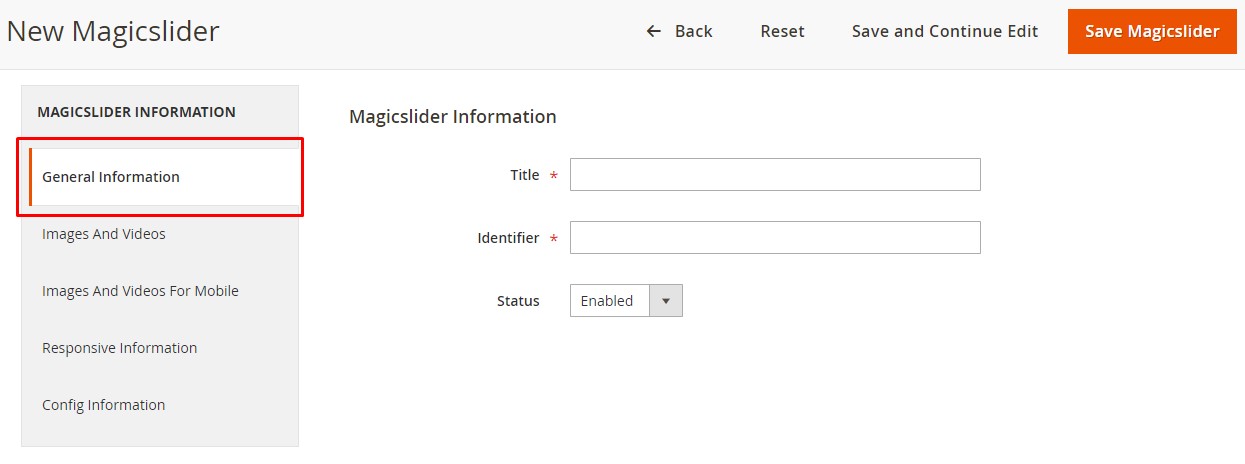
2.1 - Config Information
This part allows you can change Title, Identifier, Enable/Disable the Slider
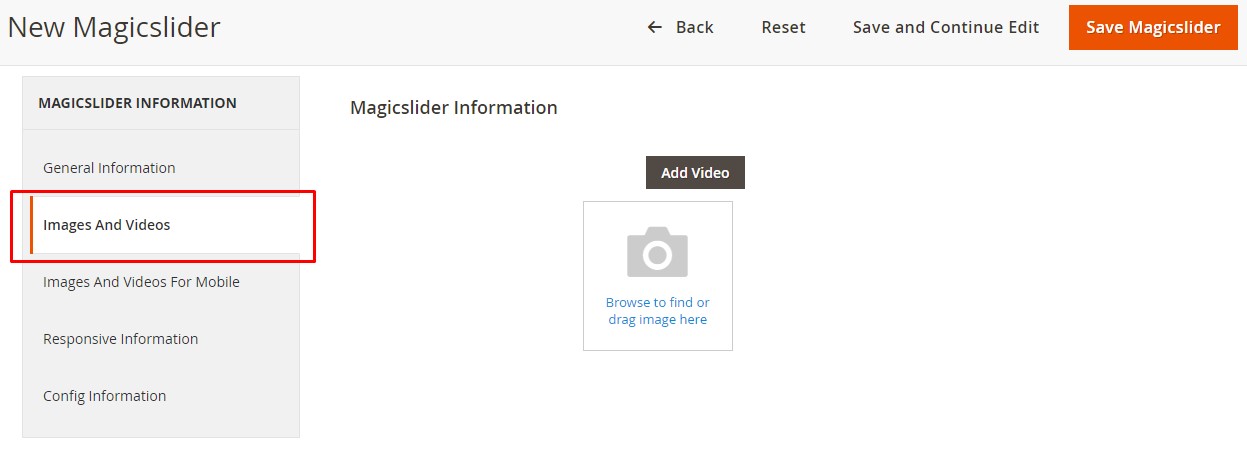
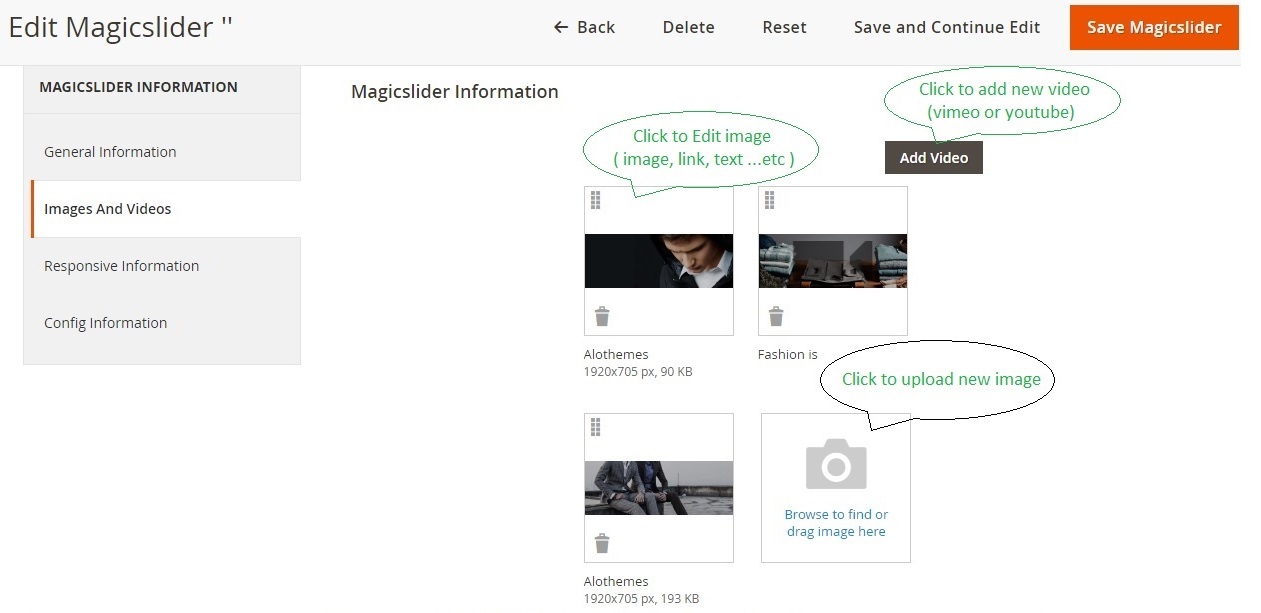
2.2 - Images And Videos
This part allows you can upload images/videos to the Slider
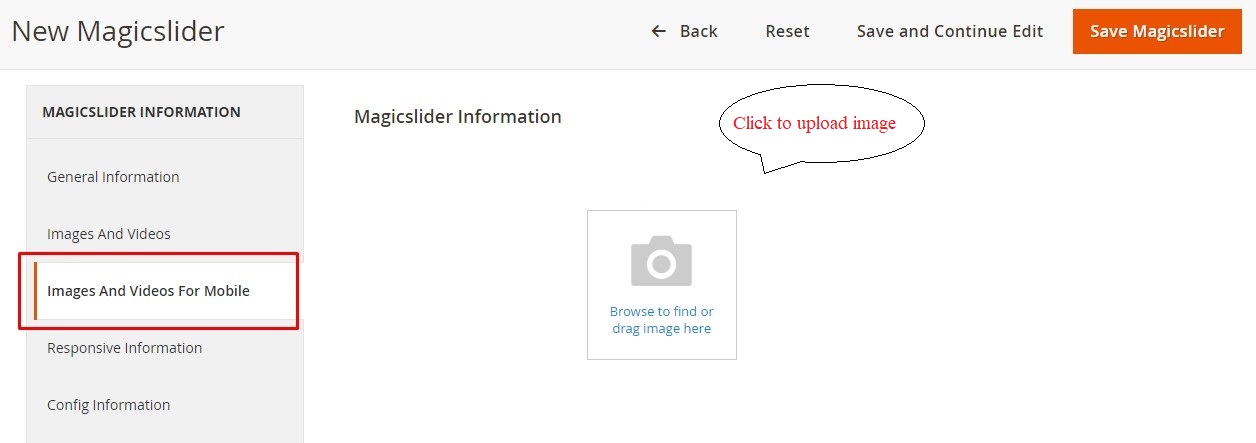
2.3 - Images And Videos For Mobile
This part allows you can upload images to the Slider but fits for mobile
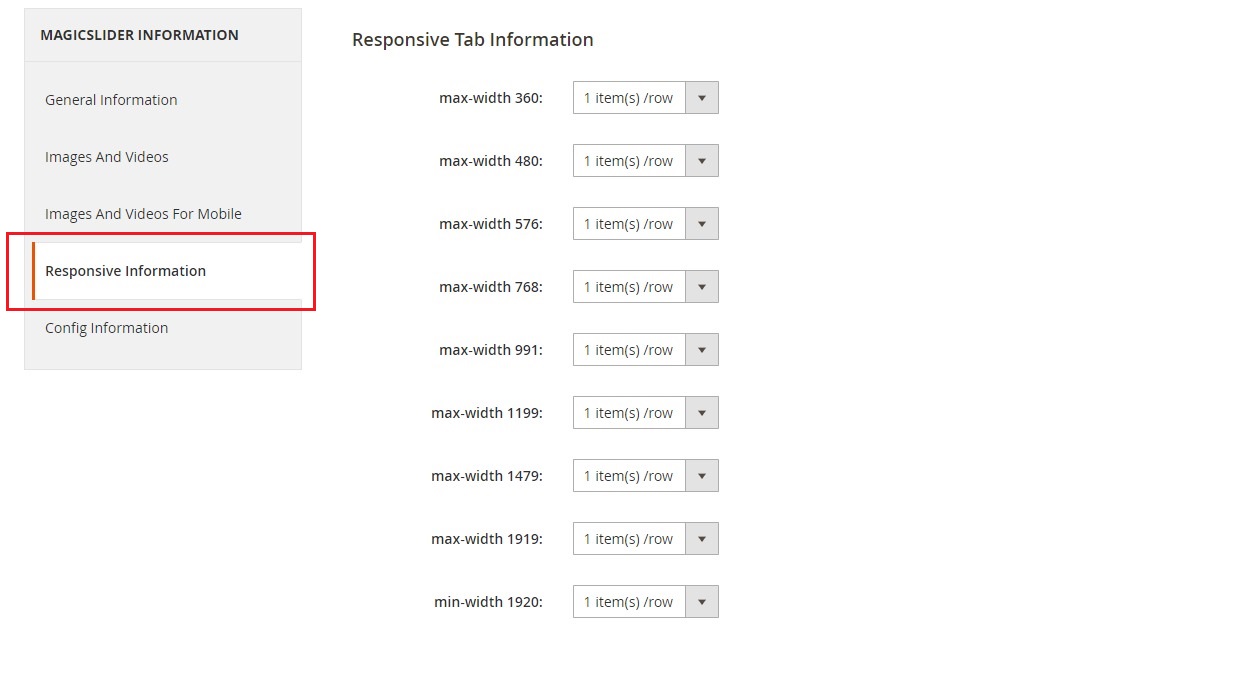
2.4 - Responsive Information
This part allows you can config the Slider for responsive
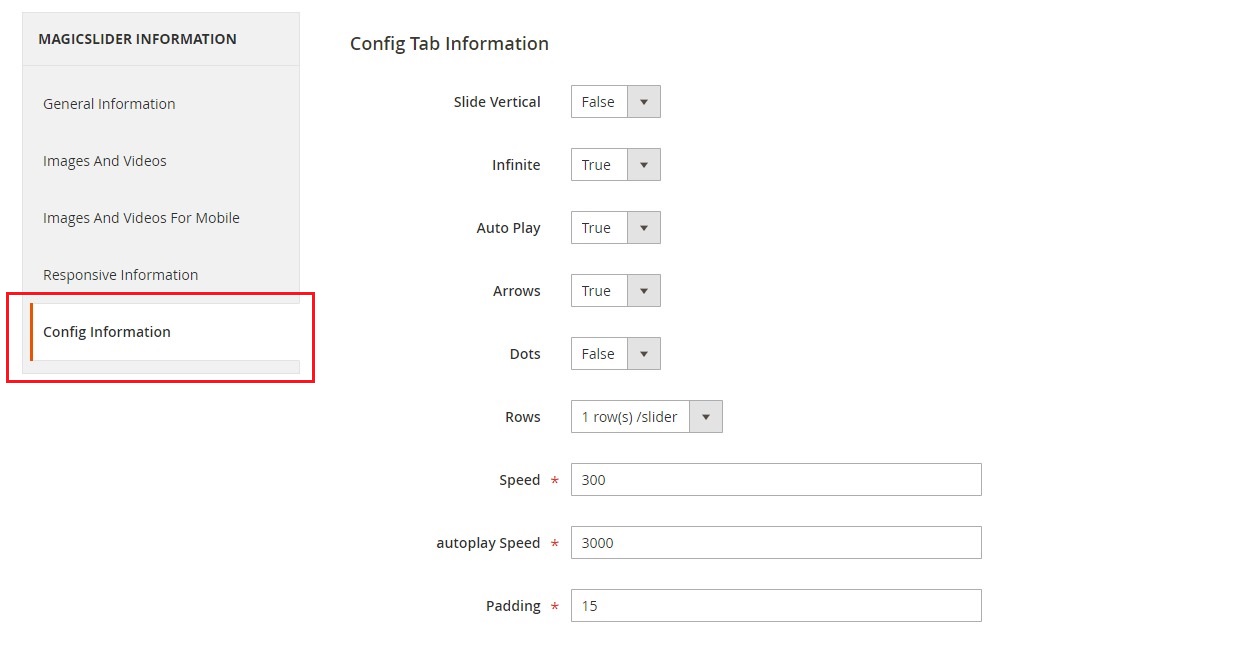
2.5 - Configure Information
This part allows you can config other information for the Slider such as Slide Vertical, Infinite, Auto Play, Speed,...
2.6 - Add or edit info image
On slider grid, click on image to popup/show the image, then you can change it as the image below
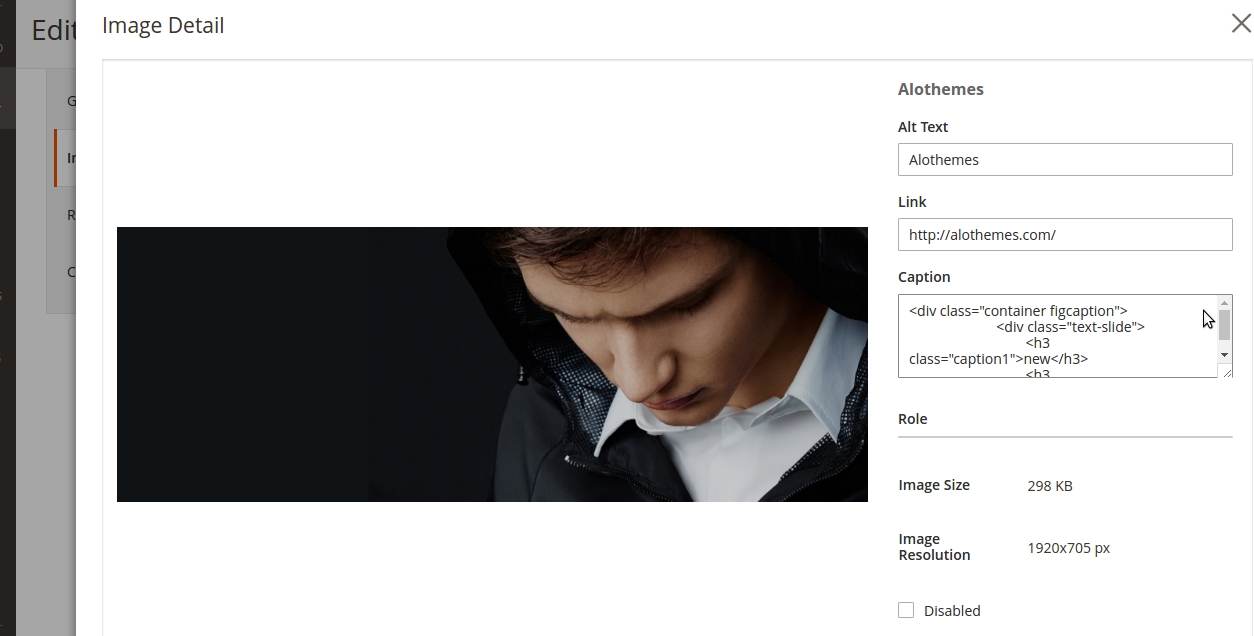
- Alt text:Support SEO purposes
- Link: Link for image when clicking on images
- Caption: Allow user to customize code when needed
- Disabe/Enable Image
2.7 - How To Show Slider On The Frontend
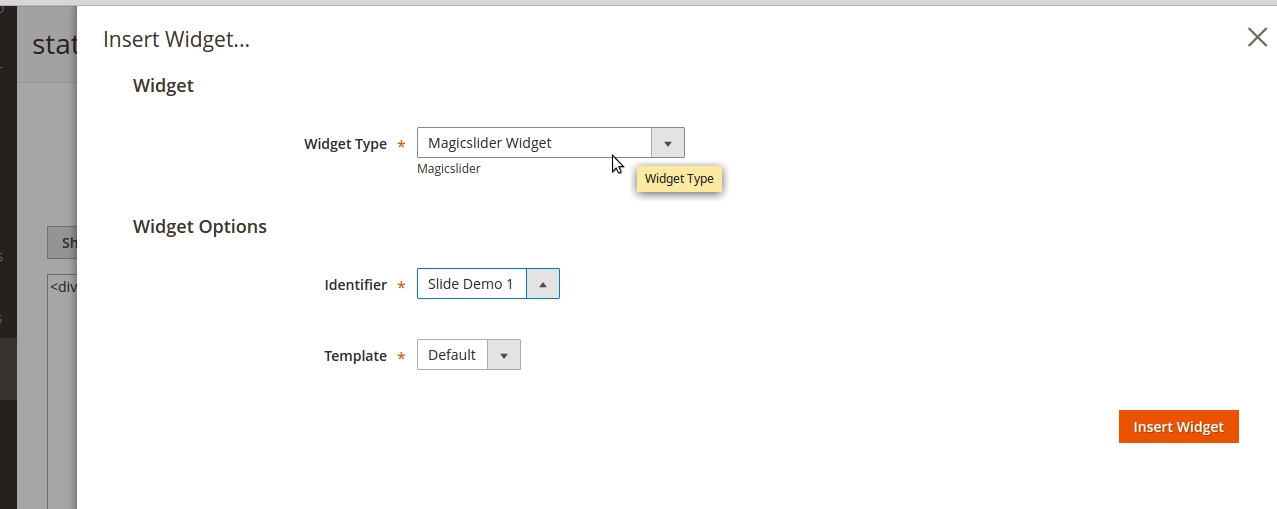
After Create/Edit a slider you can go to Content > Pages or Content > Blocks, then Insert Widget as images below
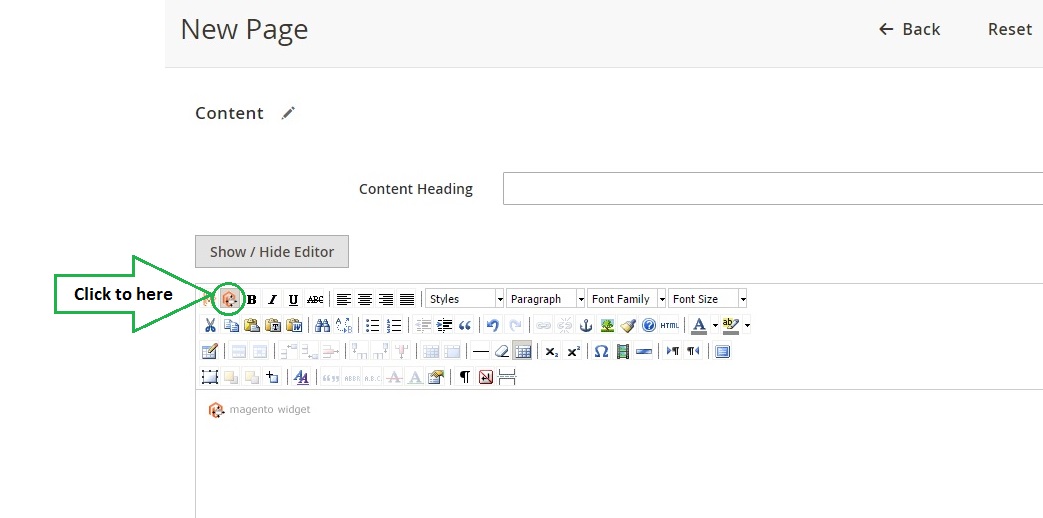
Choose the "Widget Type" is Magicslider Widget and choose the Identifier and Template for the slider as the image below:
3 - Results in Frontend

III - Custom Support
1 - Support
- Ticket Support: http://alothemes.com/ticket. If you have found any bugs or have some other problems with this extension. If the problem is not covered there, you can contact us via support center. We will respond as soon as possible (within 24 – 48 hours, usually much faster)
2 - Contact
- Support Email support@alothemes.com
- Contact Sales: contact@alothemes.com